Propeller Balancing

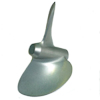
The propeller is the final link in a boat’s power train. Its job is to take the torque created by a marine engine and convert this torque to thrust. A propeller is designed to control the engine’s RPM and hold it at wide open throttle to the recommended RPM range specified by the manufacturer of a motor. This preferably should meet the crest of the power curve of the motor.
The power curve is the RPM range where the motor is developing its maximum horsepower and efficiently. If the motor revs beyond this point, it is over revving, and if the motor is not able to reach this point it is loaded down. Either way, this causes poor performance and unnecessary wear and strain of the drive train.
There are four basic type of unbalance: Static, Kinetic, Dynamic and Whip. Propellers are balanced using Static or Dynamic means.
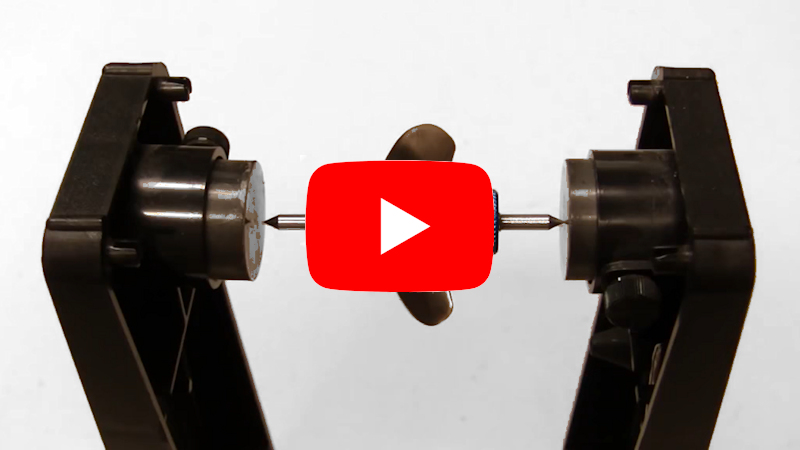
Static unbalance is gravity at work. If a propeller is placed between centres on frictionless rollers the heavy or weighted portion will rotate to the bottom immediately. This is corrected by adding or removing weight from the propeller.
Dynamic unbalance is a twist caused by two forces in two separate planes. If weights were placed 180 degrees opposite the other, no single point would roll to the bottom, because the prop would be balanced both statically and kinetically. By rotating the propeller at an appreciable speed each weight would cause its own centrifugal force in separate planes. This would cause an end to end rocking motion.
The following is courtesy of Prestwich Models. Prestwich can supply a full range of CNC machined props for all applications.
- Assemble the prop balancer and find the shaft that is a close fit into the propeller.
- Put the shaft between the magnets so that it touches one magnet and is close to the other. It may be necessary to adjust the width of the balancer to do this.
- The prop will rotate and then stop. Mark the prop with a marker pen at the lowest point.
- Spin the prop again and it should stop in the same position. Draw a vertical line downwards from the shaft on the lower blade. This is the area where you must remove material to balance it.
- If the prop stops with the blades level the material can be removed from the hub or better still from the lowest edges of each blade. Material removed from towards the tip of the prop will have more of an effect on the balance.
- Remove material with a file from the front of the blade ONLY, i.e. the convex side which is the same side as the drive dog slot. Use a fairly large file, the small swiss type files are not coarse enough.
- Keep checking the balance of the prop. When it is balanced it will be possible to spin the prop and will not stop in the same position each time.
- To sharpen the prop use the file again making file strokes towards the edge of the prop until it is sharp. This must only be done on the convex side, front side.
- Sharpening the prop can be done before balancing but if not then rebalance after sharpening.
- The trailing edge of the prop (thick edge) should be squared off so that it has sharp edges , i.e. 2 sharp edges.
Back to News Articles | Other Technical Articles

